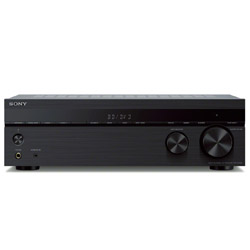
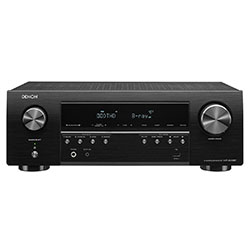
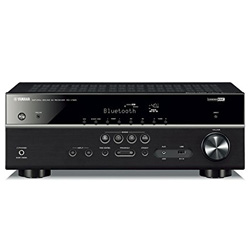
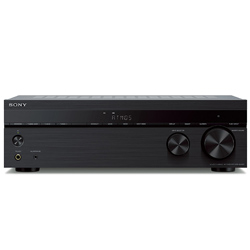
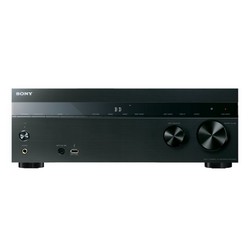
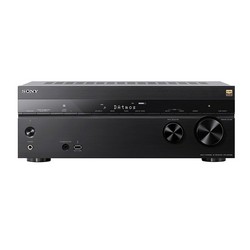
 By adding the STR-DH590 to your home theater, you can enjoy a larger and sharper picture. With support for 4K HDR, Dolby Vision technology and customizable surround sound with a 5.2-channel AV receiver, the image seems to come to life. Intrigued with these Sony STR-DH590 specs? Then see all the details in Sony STR-DH590 review.
Sony STR-DH590 review
Features
This receiver features 5.2 channels, 725W at 6 ohms. It has Dolby TrueHD and DTS-HD Master Audio decoding, as well as onboard DSD decoding.
Design and build
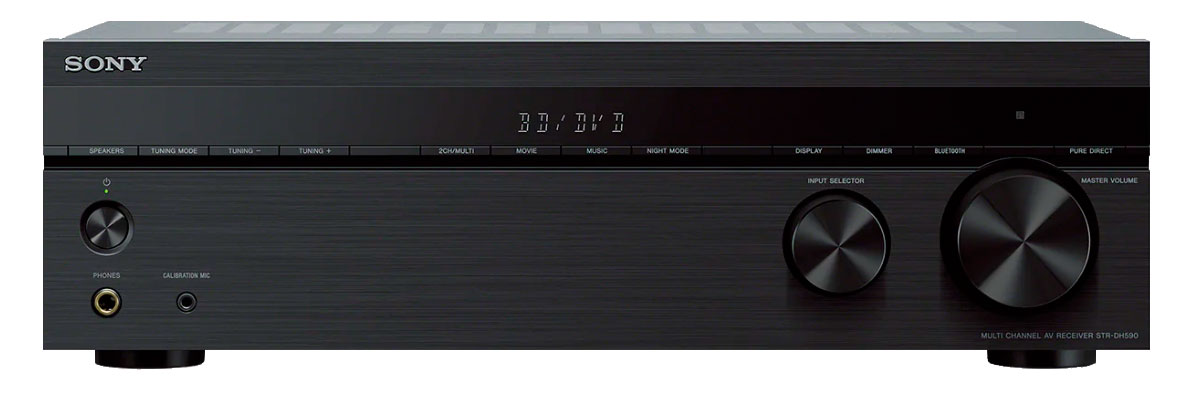
Laconic design, convenient connection for clear sound. The minimalist designed front panel has a Pure Direct button, which allows you to direct the sound directly to the receiver amplifier, while maintaining signal characteristics and sound clarity. The front panel has a simple but elegant design with a brushed black finish, two knobs for input and volume, a headphone output, one long row of black buttons for various tasks (speakers on/off, FM tuning, sound mode selection, Bluetooth, Pure Direct mode, etc.), and a medium-sized LCD located near the top.
Connectivity
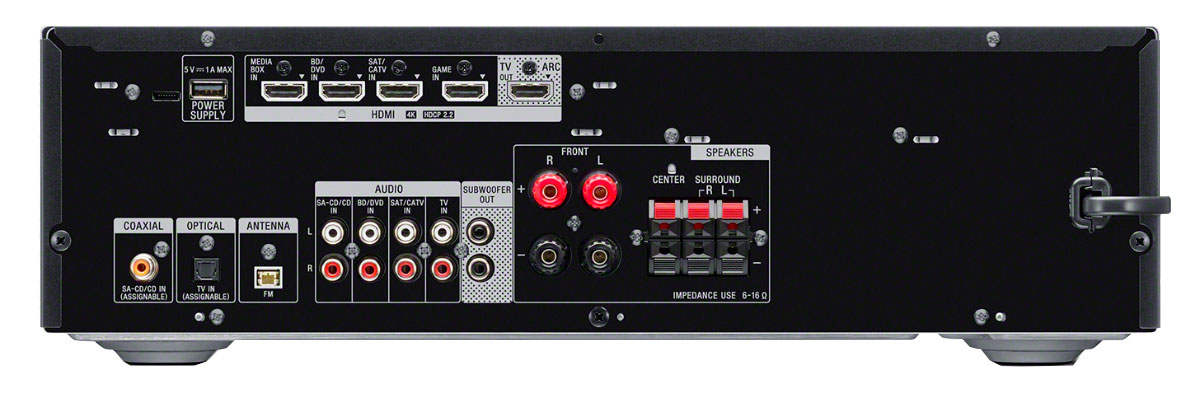
The back panel sports a modest amount of inputs and thus is cleanly laid out. The only video input option is HDMI, and you get four HDMI 2.0a inputs with HDCP 2.2, plus a single HDMI 2.0a output with Audio Return Channel. The DH590 passes through a video signal as is, with no upscaling ability (which is standard in this price range). The back panel also sports one coaxial and one optical digital audio input, plus four stereo audio ins, two subwoofer pre outs, and an FM antenna input.
Setup
The DH590's onscreen setup process could not be easier, mostly because there's just not that much to do. Once you connect your speakers, sources, and display, power on the receiver, and select your language of choice, you're instructed via the onscreen menu to connect the supplied microphone cable to run Sony's DCAC automatic setup. In this entry-level model, DCAC takes less than 30 seconds to run: it measures from just one location and quickly runs through test tones to determine speaker channels, size, distance, and level. That's it. Once it's done, you can go into the Speaker Settings menu from the OSD's home page and check to see how it did.
Pros and Cons
Pros
- The sound stage is immersive, detailed and very present
- This unit just works great right out of the box
Cons
- The lack of advanced functionality, the lack of AUX-IN, at this price point was just super disappointing
Common features
Product
Model
Brand
Reviews
Amplifier
Channels
Stereo power (RMS), W/Ohm
Output impedance, Ohm
Frequency response
THD in stereo, %
Audio features
Digital to analog converter (DAC)
Bi-amping
Pure direct (straight)
Auto speaker calibration
Speaker A/B switching
Other audio features
Connectivity
Wi-Fi
USB
Bluetooth
Ethernet (RJ45)
DLNA
MHL
Streaming services
Apple Music (AirPlay)
Amazon Music
Spotify
Other streaming services
Extensive connection
HDMI input/output
HDMI ARC (Audio Return Channel)
HDMI eARC (Enhanced Audio Return Channel)
HDMI CEC
Digital content protection (HDCP)
Subwoofer output (LFE)
Headphone output
Optical digital input
Coaxial digital input
Composite input
Component input/output
Phono (MM) input
Front panel connectors
Multi channel preamp output
Video features
HDR (High Dynamic Range)
4K signal pass-through
8K signal pass-through
HDMI signal pass-through
3D signal pass-through
HDMI pass-through in standby mode
Video conversion
Analog to HDMI scaling
HDMI to HDMI scaling
Dolby Vision
Other video features
Additional features
Voice control
App control
Display
Tuner
Sleep timer
Auto power off
ECO mode
Graphical user interface (GUI)
Setup assistant
Firmware update
Other additional features
Multi-room
Multi-room zones
Zone audio output
Zone HDMI output
Multi-room control
RS-232
Remote control input/output (IR)
DC trigger output (12V)
Multichannel surround
Dolby Atmos
Dolby TrueHD
Dolby Surround
Dolby (other)
DTS:X
DTS HD Master
DTS Virtual:X
DTS Neural:X
DTS (other)
Auro-3D
IMAX Enhanced
Multichannel stereo
Audio file formats
MP3
WMA
AAC
WAV
FLAC
ALAC
Other audio file formats
Power
Operational power consumption, W
Standby consumption, W
Removable power cord
User manual
Manual
Dimensions
Size W x H x D, cm/inches
Weight, kg/lbs
Other
Release year


